Ir al contenido principal

Surface Desing Study: LASER CUT SAMPLE - AXOLOT TALABERA


This project for this week was to transfer our design to a wood sheet and cut it with the laser machine. So we used the design from the previous project.


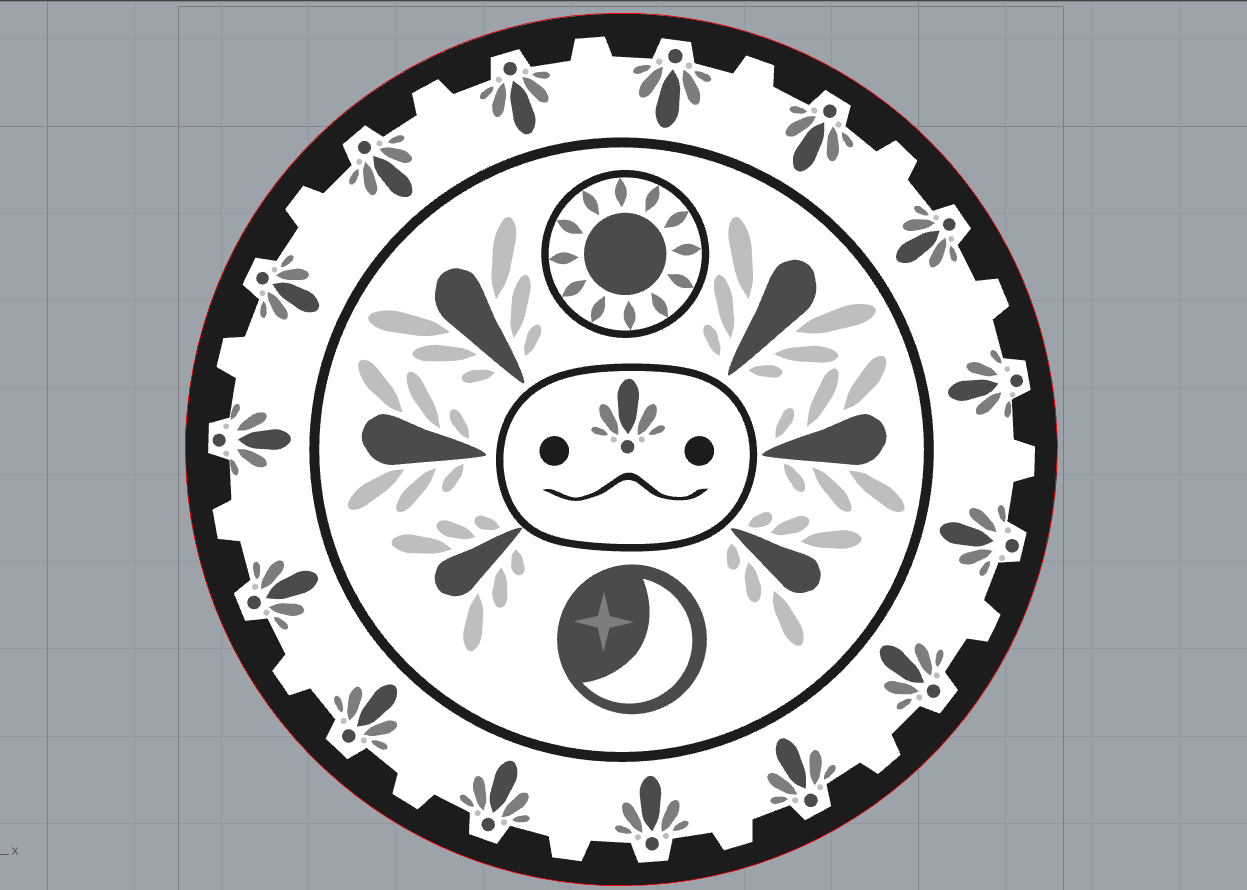
I changed the colours to a range of grays since the machine is programmed with those colours. 

Once we had those colours, we then cut the design with the laser machine. I decided to go with a size above 4x4 inch because I wanted all the details to be seen clearly and I loved the result.


This is the final result.

 I feel they turned out very well and I love how the design turned out on the wood.


And now its my cupholder :D

Entradas más populares de este blog

Final Render of the Glasses (FINALLY DONE !!!!!)

 FINALLY, I DID THE RENDERS CORRECTLY!!! I have some help from one of my classmate's friends and she helped me a lot to understand the tools for rendering. And here is the final result: And how it looks in the explode mode:

Castle in Rhino 8

This is my first project in 3D programs of modeling. I never use one this programs before, but I have some experience doing some sculptures. So for this project, we had to make a castle in 3D and molded in Rhino.   My process for this piece was to take some reference images to create my castle. I took inspiration from the Beauty and the Beast live action castle and had the idea of making it as if it was made of glass. Then I made a sketch in Clip Studio of how to make the structure of the castle, and then I started to make it in Rhino. I did a 2D structure.  I had some difficulties to create the 2D structure, since I had never worked this way before. As well as at the moment I started to build the 3D structure, I had a lot of difficulties because I didn't understand how some Rhino tools work. So the final design was more simpler. And at the end I rendering with the material tool and using metal and glass to give ...

MILESTONE PROJECTS